Heartopia Beginner Guide
Heartopia is a routine-based game. You progress more through consistency (dailies + hobbies) than through "infinite grind". This guide is the mental map for the beginning. For each system, I link the detailed guide.
1) Your character is just appearance
Create your avatar without fear. There's no "wrong build" here, because there's no build. You choose appearance, clothes, and style. Later, you can adjust this again as you unlock new options.
You don't need to lock in decisions at the start. Create something quickly and start playing. What matters is your rhythm (dailies + hobbies).
2) The invisible clock: daily reset and why it controls your progress
The daily reset is the axis of the game. Missions, daily limits, shop rotations, and event windows follow the server time.
The most important thing is to do quests (especially Requests). But there's also shop rotation, limited items, and vendors that only appear under specific conditions. To understand everything that resets and what's worth checking, use the guide:
- See: DAILY-CHECKLIST (visual version, easy to track)
If you only do 1 thing per day: do what has a daily limit first (Requests, turn-ins, pickups). After that, you can decorate, explore, and take photos without losing progress.
3) Real progression: Main Story + D.G. Member's Guild
The Main Story unlocks the game. The D.G. Member's Guild is the "engine" that releases systems, tickets, and upgrades.
The practical loop is simple:
- Advance the Main Story when you have a clear objective
- Do your Requests and Daily Missions
- Use this to level up D.G. and unlock hobbies/tickets/plots
For details (tickets, order, and upgrades), use:
4) Currencies and what you should ignore early on
Heartopia has several currencies. In early game, the focus is almost always:
- Gold: daily purchases and profit
- Wishing Stars: unlocks and specific items
- Event currencies: spend before the event ends
Complete guide:
Currencies guide
Gold, Heart Diamonds, Wishing Stars, event currencies, and when it's worth saving or spending.
5) Resources and important pickups
You'll see normal resources (branch, timber, stone) and "annoying" resources because they change location and are limited per day.
Two collections that many people treat as mandatory daily:
- Roaming Oak (daily timber)
- Flawless Fluorite (daily node)
The DAILY-CHECKLIST keeps these locations always updated so you don't waste time running around the map in the dark.
If you like routes and efficiency, the combo is:
- MAP to navigate and filter
- GOLD FARMING for money routes
6) Hobbies: the order that makes sense and why
Hobbies feed into each other.
- Fishing generates ingredients and gold early
- Gardening provides stability and constant raw materials
- Cooking transforms ingredients into dishes that sell better and also helps with stamina
- Insect Catching is good for collection and quick sales
- Birdwatching is collection + turn-ins (cards) and daily rewards
- Animals is a routine of bond + drops + thematic unlocks
Detailed guides
Fishing
Casting, line tension, bait, routes, and when to sell or cook.
Gardening
Planting, watering, weeds, fertilizer, growth booster, and good crops early on.
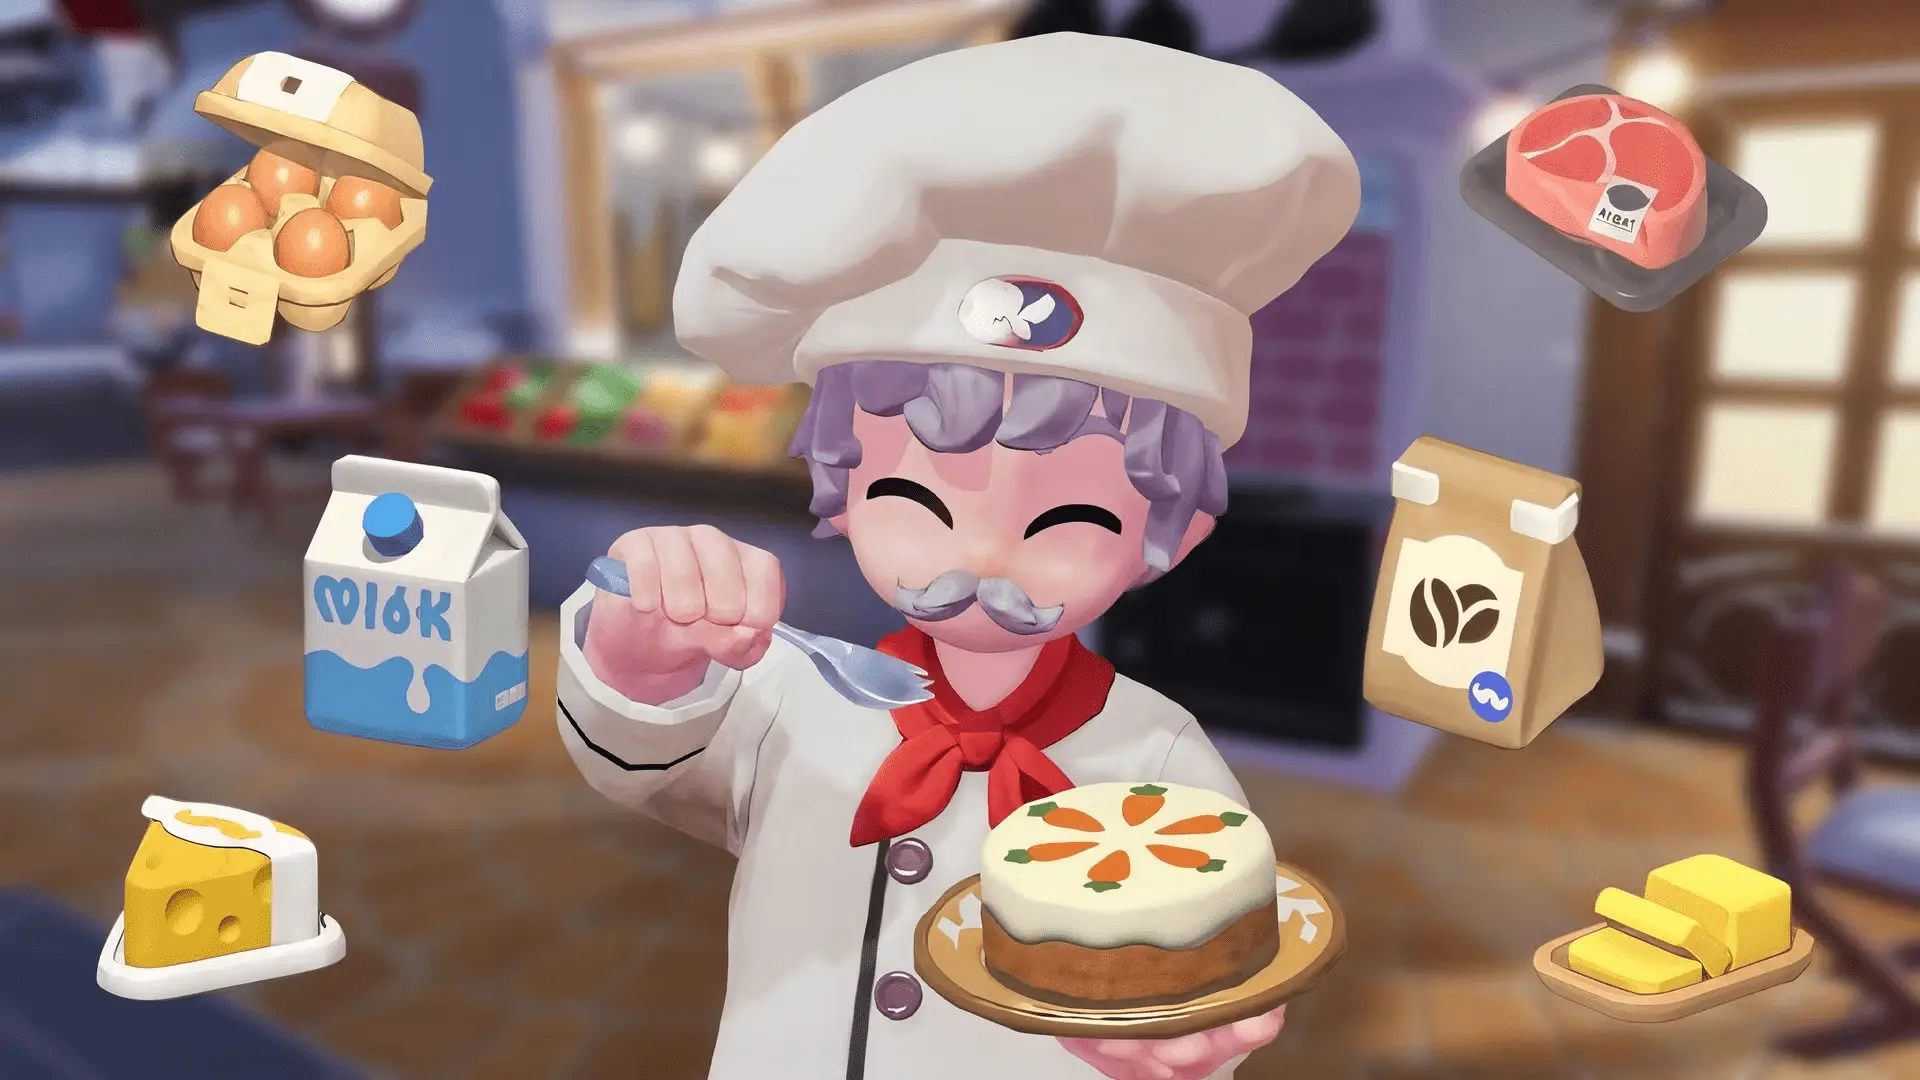
Cooking
How to unlock with Massimo, stove minigame, recipes, XP, and early gold.
Insect Catching
Bubble Net, how not to scare everything, level up fast, and use Attractor without burning stamina.
Birdwatching
Scanner, valid vs invalid cards, stars per pose, and daily recycling.
Wild Animals
Troughs, favorite foods, bond, drops, and daily routine.
7) Shops and daily rotation
Some shops are worth a "quick scan" because they rotate stock. It's not about buying everything. It's about not missing an item you wanted.
Common routine points:
- Clothing shop (rotation)
- Furniture/decoration shop (rotation)
- General shop (restock basics)
- Massimo (ingredients and recipes)
If you're in profit mode, treat shops as "information": enter, see what changed, buy only what fits your plan.
8) Weather, events, and things that only exist in windows
Weather changes what appears in the world. Events change what you can buy and farm. This affects special vendors, spawns, and temporary items.
Useful pages:
Weather directory
All weather types, effects, and pages (Meteor Shower, Rainbow, and others).
Events
Active events, temporary currencies, and what's worth farming before they end.
9) House and decoration without pain
The Builder Tablet is your friend. It solves 90% of "why doesn't this fit?". Decorating doesn't make you stronger in combat (it doesn't exist), but it can unlock comfort and vibe, and some routines get faster when your house is organized.
Useful pages:
10) Quick routine for those who play little
If you have 20–30 minutes:
- Do Requests and Daily Missions
- Get the two daily pickups (Roaming Oak + Flawless Fluorite)
- Do 1 main hobby (Fishing or Gardening)
- If you have time left, batch cook or complete collection (insects/birds)
For the "checklist" version:
FAQ
What do I do on the first day to not get stuck later?
Advance the Main Story enough to unlock systems and then do Requests. This pushes your D.G. and opens the rest of the game.
Do I need to choose a 'right' hobby?
No. The order only changes your efficiency in early game. Fishing and Gardening create a foundation. Cooking takes advantage of that foundation.
Is it worth spending premium currency early on?
Generally no. Focus on Gold and Wishing Stars. Use premium only when you know exactly what you want.
What gives the most results per minute played?
Requests + hobbies that feed gold (Fishing/Gardening/Cooking). The rest you fit in as collection and routine.